Project1 - Hello World
1. What You Will Build
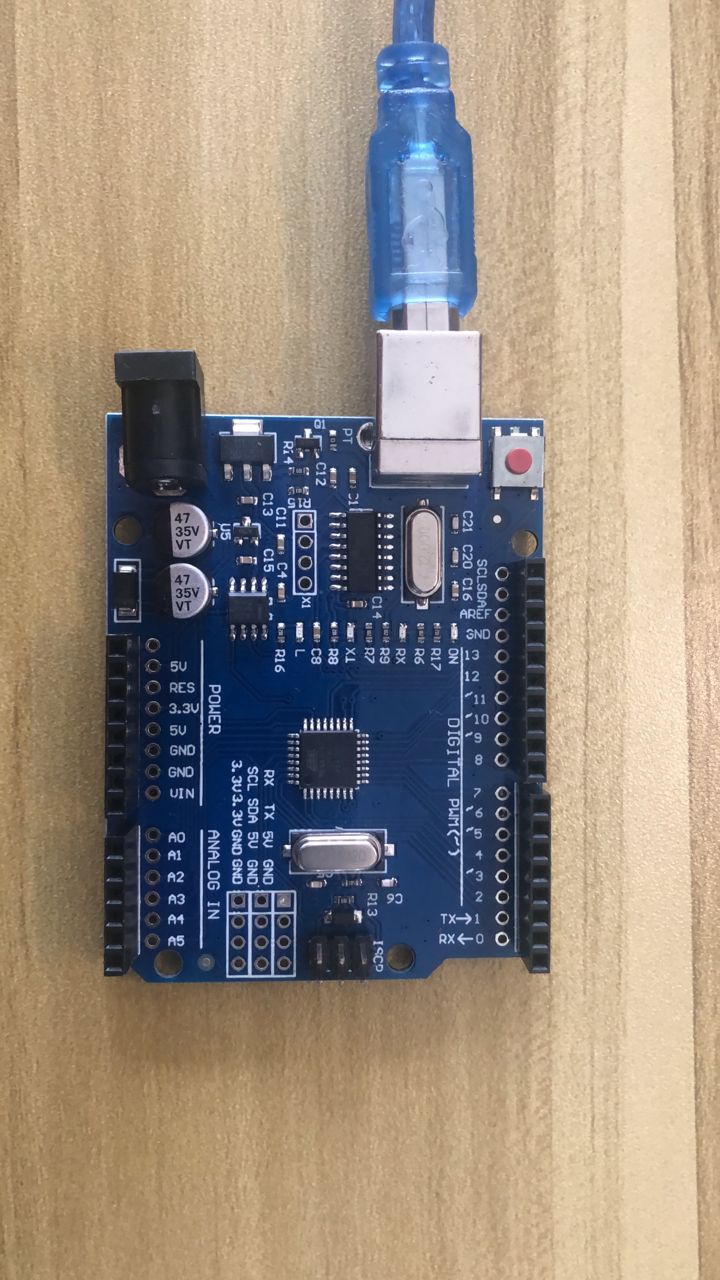
In this tutorial, you will learn how to build Project1 - Hello World using Arduino .
By the end of this tutorial, your project will be able to:
Introduces the Arduino IDE environment.
Allows beginners to upload and run a simple program.
Uses only basic components Arduino and USB cable
2. What You Will Learn
After completing this tutorial, you should understand:
how to connect Arduino to a computer.
Learn how to upload code into Arduino.
Learn the basic functions of the Arduino IDE.
3. Components Needed
No. | Component | Quantity |
1 | Arduino | 1 |
2 | Breadboard | 1 |
3 | Power supply / USB cable | 1 |
4. Software Needed
Use the tools below depending on your board.
Board | Software |
Arduino | Arduino IDE |
Libraries Needed
No libraries needed
5. Circuit Connection
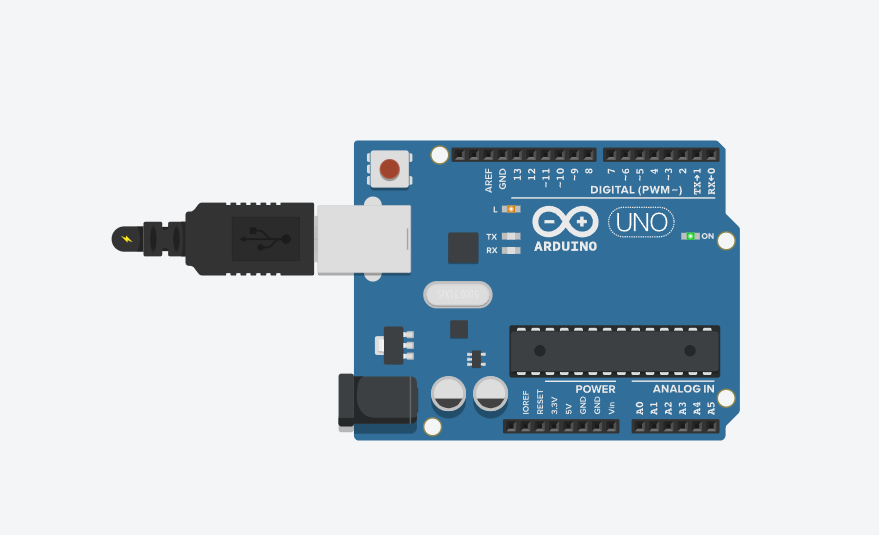
Connect the components as shown below.
Wiring Steps
Connect the Arduino USB cable to computer
Circuit Diagram
6. Code
int val;          // store data from Serial
int ledpin = 13;  // onboard LED

void setup() {
  Serial.begin(9600);      // select baud rate
  pinMode(ledpin, OUTPUT); // set LED as output
}

void loop() {
  if (Serial.available() > 0) {   // check if data is available
    val = Serial.read();          // read input

    if (val == 'A') {             // when 'A' is pressed
      digitalWrite(ledpin, HIGH); // LED ON
      delay(500);                 // 0.5 second

      digitalWrite(ledpin, LOW);  // LED OFF
      delay(500);                 // 0.5 second

      Serial.println("Hello World!"); // output to Serial Monitor
    }
  }
}
7. Upload / Run the Project
Connect the board to your computer using USB.
Open the code in Arduino IDE.
Select the correct board.
Select the correct port.
Click Upload.
Open the Serial Monitor if needed.
8. Expected Result
When the project is working correctly:
Type 'A' → LED blinks (0.5s ON/OFF) + prints "Hello World!"
9. Troubleshooting
Problem | Possible Fix |
Board not detected | Check USB cable, driver, board, and port selection |
Code upload failed | Select the correct board and COM port |
Wrong readings | Check sensor voltage and calibration |